The Final Edit of the Preliminary Task
This is the final edit of my group's Preliminary Task. Overall, I am rather happy with the way the project has turned out and it has certainly given me practise in some of the areas of film production that I was not so used to. The actual filming and the lighting was a slight learning curve for me but it has allowed me to improve greatly in these areas.
From doing this task I have learned some of the complexities that can arise during film production and it has made me more prepared for when I get to the production of my 2 minute thriller.
The overall quality of the final film is questionable, as some of the acting comes across as a little limp and the 180° Rule is broken for the final shot due to technical capabilities. However, a clear story is told and everything does flow smoothly and continually and this was exactly the purpose of the Preliminary Task. As we have successfully done this, the film is successful in my eyes.
If there was one thing that I will definitely do in the Thriller Task, it is working on my own. In this task I had to do almost everything and had little help from the others. This proved to me that I can complete the Thriller Task on my own and I will be able to do it to a high quality.
How I Edited the Preliminary Task

As stated in the previous post, I edited my version on 'Sony Vegas Movie Studio 10 Platinum Production Suite'. This was because it is the software I am most comfortable with using and it can produce just as high a quality video as 'Adobe Premiere Pro CS4' can. In this picture you can see the layout of the video tracks. Most of the shots were much shorter than I predicted and even though this could have potentially derailed the entire clip I was able to repeat the last shot twice. Reversing the very final shot allowed for a much more seamless transition between the replica clips. A cross fade was used on the final clip so that the ending faded out simply and beautifully rather than brutally cutting off.

The audio track consists of the one free song that I sourced. I did have to edit the end slightly, so as to make the end of the song fit the end of the clip. Also, by repeating a section from the opening of the song with the electric sound at the end over the final shot the original feeling of the electric tension in the air is obvious. This works far better than the idea of visible lightning and gives the film a more professional air.


The letterboxing effect was created through using a cropping tool within the software and keyframes. With the first clip to be edited, seen in the first two pictures, I placed one keyframe at the beginning and had the focus be on the entirety of the shot and then I placed another keyframe at the end, but only focused upon a narrow strip in the centre of the screen. This focus size was then copied onto the penultimate clip, seen in the third picture, and it was placed over Frankie's face for the first keyframe of that clip. The next keyframe was roughly in the middle of the clip and the focus was moved to Emily's face. The final keyframe returned the focus to all of the frame. In using a small number of keyframes and keeping to focus as similar as possible the transition and movement between the clips were smooth and worked brilliantly.
In this final lesson on the editing, nobody else in the class has decided to do ADR and so there is no point for us to do so either. All that is left now is to upload and evaluate the final clip.
The Second Edit of the Preliminary Task
After deciding that the last clip in the film looked really out of place, I decided that I needed to do something to make it seem like two separate clips. This is when the idea of letterboxing the clip and using editing software to track across the two faces came along, and after messing around a bit with some of the other clips I finally got it to work.
It was at this point that it appeared that the lightning effect was no longer needed. The track across the faces conveyed the same thing that the lightning was meant to, the tension between the two characters, but it also made the entire film flow so much better so that extra shooting was not needed.
It was incredibly awkward when it came to finding free and royalty free music and sound effects as every single website that I came across wanted me to pay for the content, something that I was certainly not going to do for the preliminary task. After a while of searching, I remembered a channel on Youtube called Free Soundtrack and it was here that I was able to find a song that seemed to fit the task perfectly.
THE Song by Tw0 F4ce 66 of FearTheFrag included an electric sound effect and had a crescendo to it that seemed to play alongside our film perfectly. So, I downloaded it and only had to edit it slightly to fit into the 30 seconds.
In placing the music behind the entirety of the track, it took on a much more serious persona and it worked. This removed the need for silence in the first shot and actually made the film look and sound superior.
Coming into college today I decided to show the rest of my group what I had done and then we could decide what to do. Re-Edit it together as a group, or use the edit I have done and let them practise editing themselves and I can try and help them out even though I am not very adept at Adobe Premiere Pro. My expertise lie with Sony Vegas Movie Studio HD 10 Platinum Production Suite and it was on this program that I edited the film together.
After showing everybody in my group, it was decided that we would submit my edit as the final version and let everybody do their own edits to gain some skills of their own. As I realised that I was the only person with prior experience of editing, I thought this was probably the best course of action as it would allow me to edit at my own pace on software I knew and then help the others and we would still have time to spare.
In the next lesson we are going to see if any of the other groups do automatic dialogue replacement (ADR) for their clips. If everybody decides to, then it would probably be worthwhile for our group to do the post-synchronisation as well because it would mean practise in another area of film creation. If not, the lack of ADR will not be a problem as the music covers up most of the background noise but the noise that is audible does add slightly to the tension of the scene.
Preliminary Task Very Rough Edit - A Problem has arisen
After all of the filming, I realised that it might be a good idea to create a very rough edit of what the film would end up like. To my dismay, the actual clip only reached 20 seconds without the 11th shot. With the 11th shot repeated I was able to get the clip to 27 seconds.
The final shot also does not follow the previous shots in a continuous fashion, ergo, I believe it might be a good idea to get at least two more shots to bridge what was 10th shot and what was initially the 11th shot. This will mean a rather quick re-filming which, if it is possible, we should be able to get done if I can get Emily and Frankie for the very short time it will take to get the shots. This is incredibly annoying, but I guess it is something that I should have been prepared for or at least I should have seen it coming.
Another potential idea for a fix would be to add in a little title sequence as if the film were really a movie, like: "Lies, Lies, Lies" or "The Falling". Something like that would do the job of filling time, but it would also allow for the 11th shot to actually work. I think, that when I come to create the proper edit, this is probably what I will do, as well as utilising editing software to get a close up and a pan between the two characters' faces as this should just about get the film up to 30 seconds.
Filming the Preliminary Task
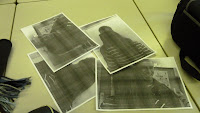
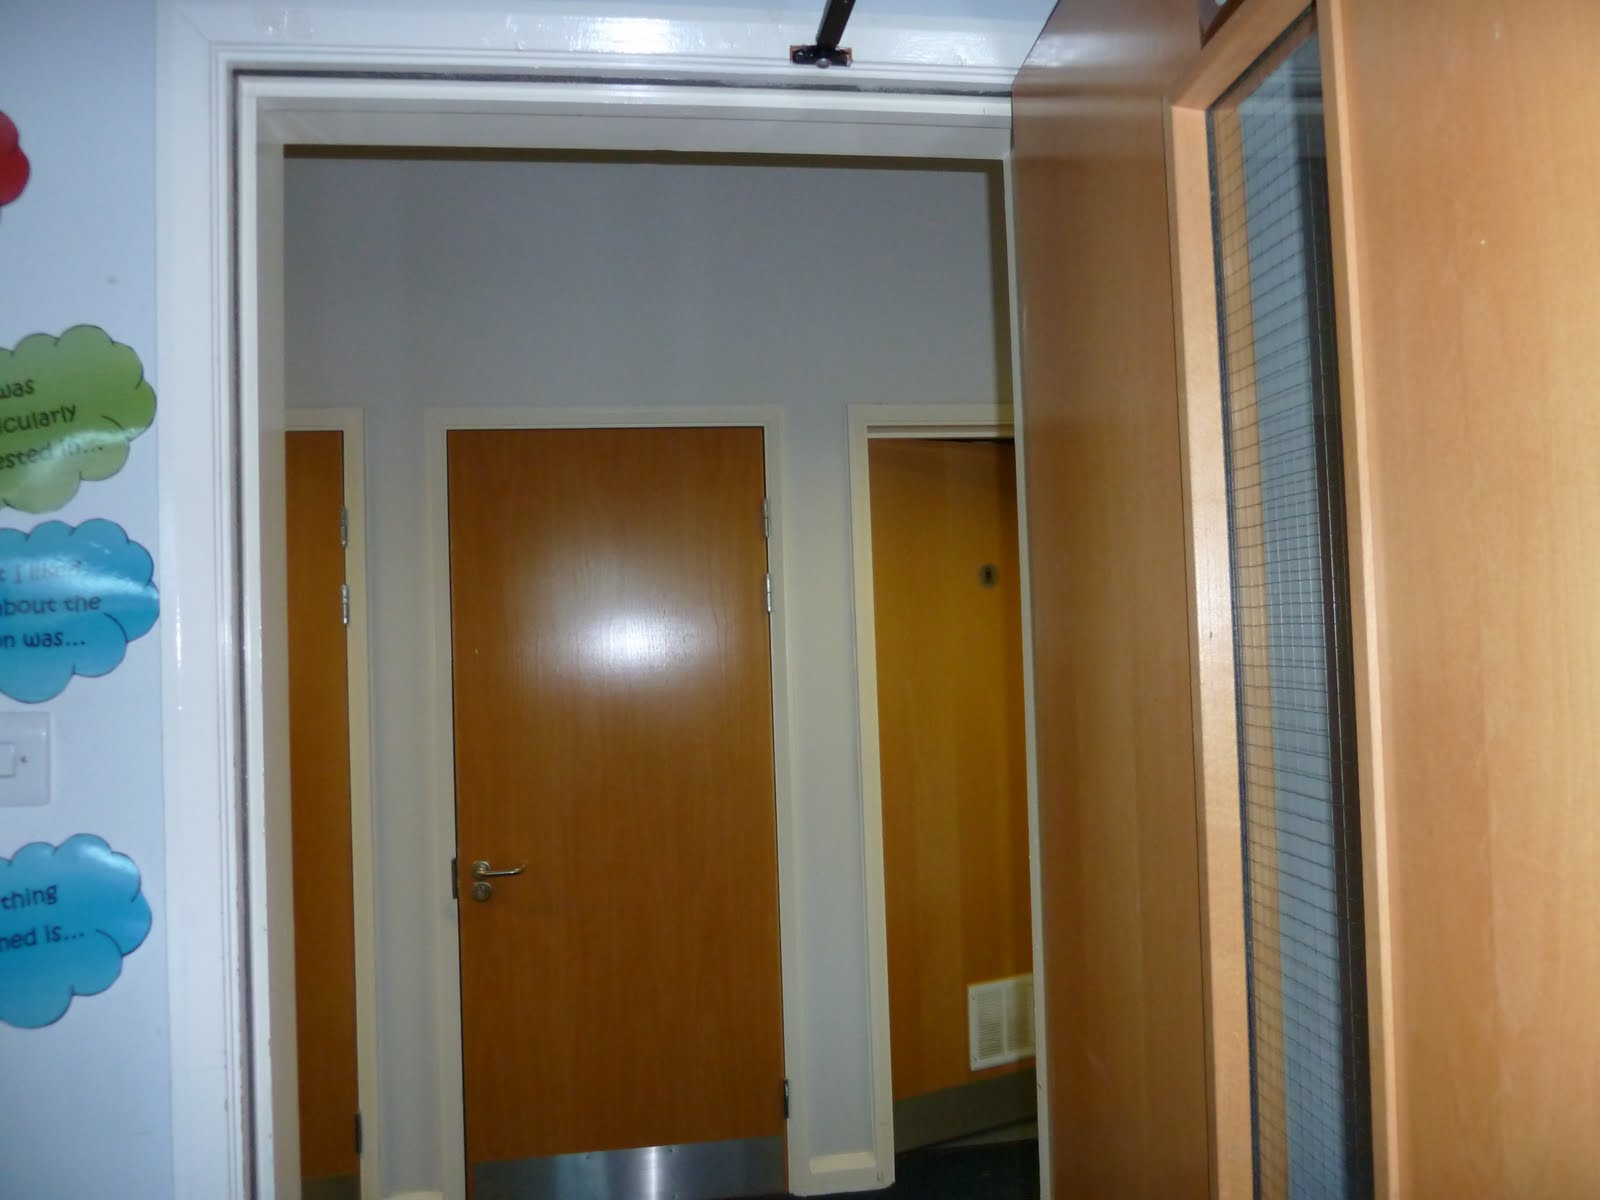
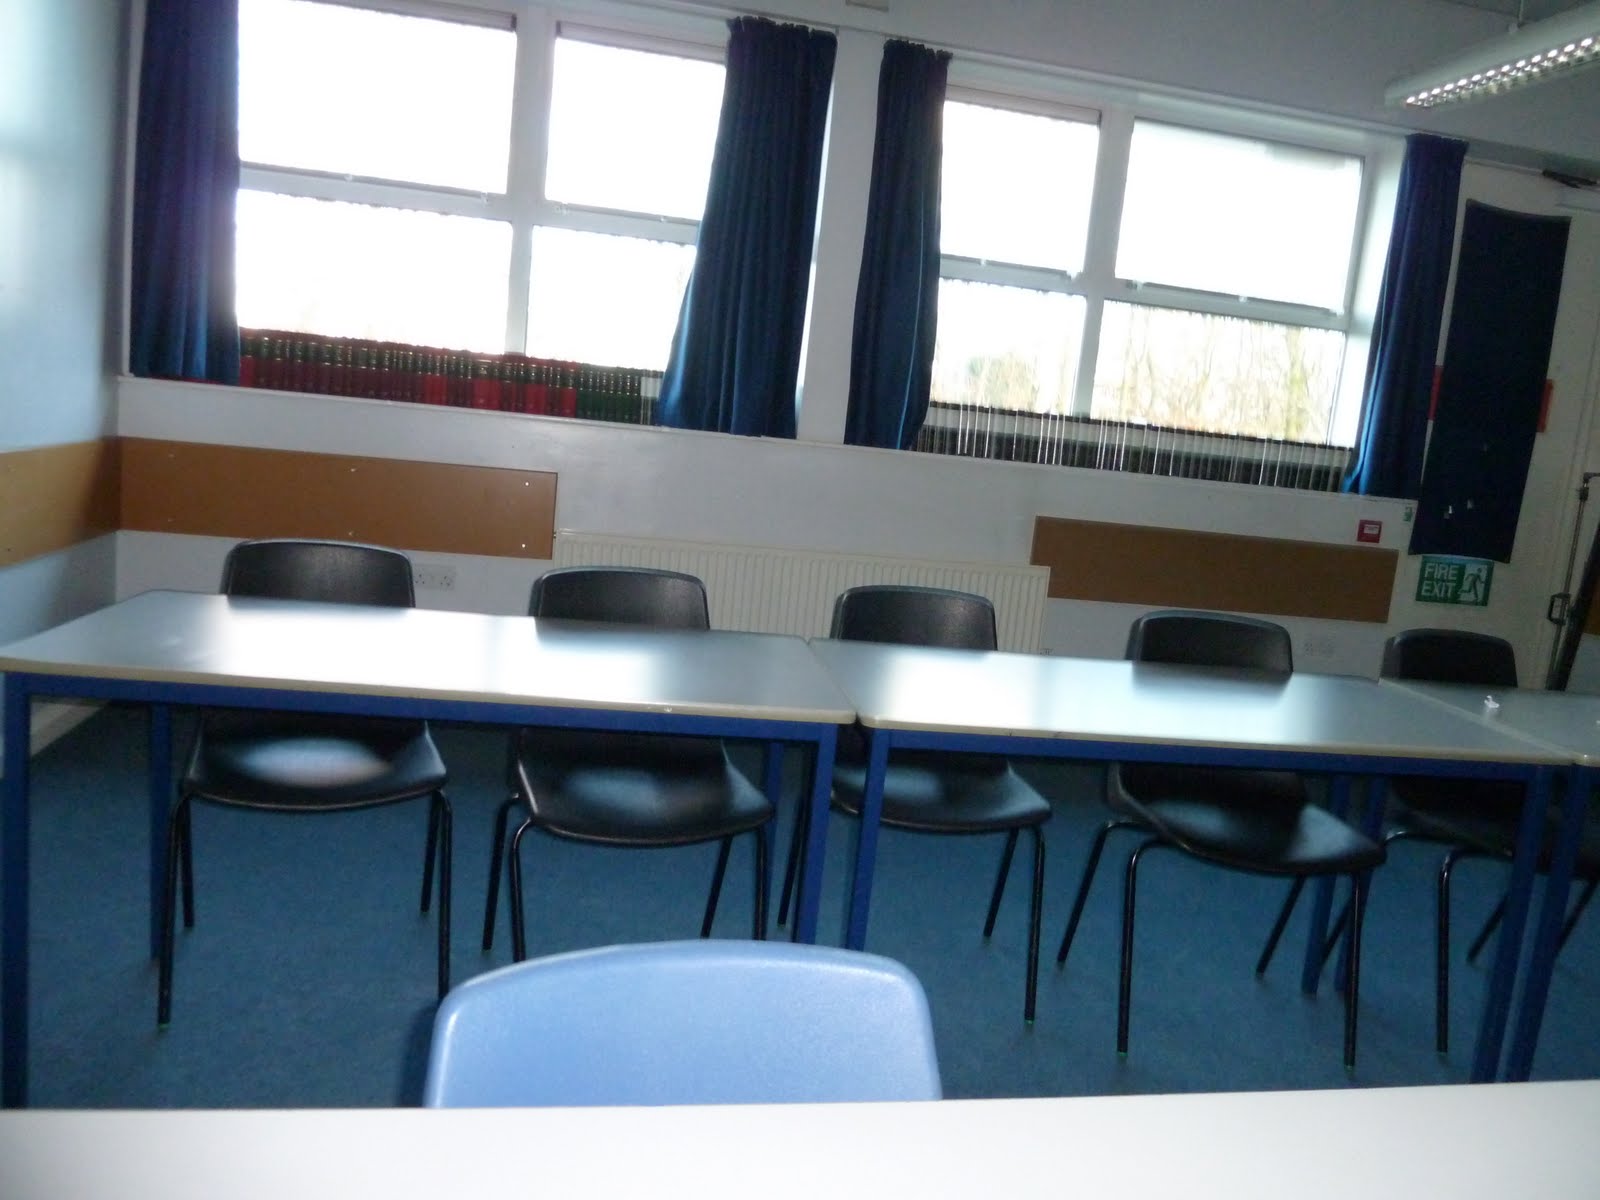
The task for this session was to film the task. Unfortunately for us, our desired location was occupied for the first hour of the lesson and so we were forced to wait until it was possible to film in it. So, we spent our time taking the photos for the props:

These were then printed off, but unfortunately not in colour due to the distinct lack of a working colour printer. This was a minor set back, but because of the nature of the task, the lack of recording time and the location of the film it really was not much of an issue.
By the time we were finally able to record I had familiarised myself with the recording equipment that we were using and this led to an effecient transition between camera angles. This meant that we spent under 30 minutes recording the 3 minutes of raw footage from which the film will be created.
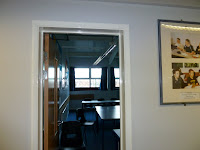


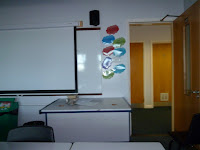

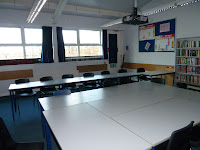
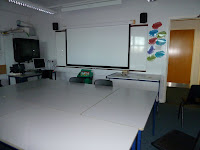
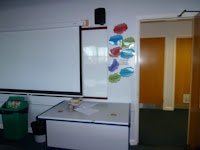
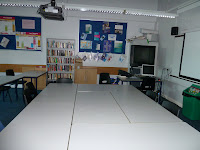
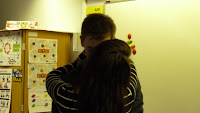
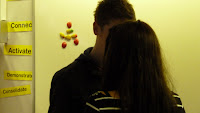
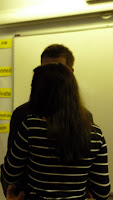
This was the room where we filmed, and as can be seen, I tried to take a shot from all of the angles detailed in the storyboard. However, when it came to actually filming some of the angles had to be changed slightly to accomodate the tripod and the actresses' height. Almost all of the shots were incredibly similar, apart from the very last shot which ended up breaking the 180° rule because there was nowhere to place the tripod that would get both of the actresses in the shot. This may or may not be a problem depending on whether the other clips add up to 29/30 seconds. When it comes to my thriller, I think I am going to have to try and decide on the locations before storyboarding so that I can take into account all of the potential issues before they occur.
The filming itself was successful, although perhaps not as high a quality as I would have prefered. This was largely down to the difficulty in preventing bloopers and getting the reactions I wanted. I also think that we may have not done the shot/reverse shot correctly, however, it does not really matter as this is only a practise and it sort of works in the situation we have created.
If anything, my major problem with the filming was that I was the only person doing anything in my group barring Emily who was one of the actresses. This meant that I had to sort out the light placement, the tripod height and do all of the directorial work. This might have occured because I had a sense of purpose and knew what I was doing. I also knew what I wanted to achieve while the others may not have, ergo they let me get on with it. Everything might have gone slightly quicker if each of us had taken a separate job, like me on camera, someone else on lights, and someone else as the director. Unfortunately, that did not happen so we will have to make do with what we have.
By the next session I need to have sourced some sound effects and music so that the editing process is much smoother. I may or may not create a quick rough edit so that I can see whether we shot enough footage (I think we did, but we will not know until everything is edited together) but also to see whether the entire film works or not. We shall see.


These were then printed off, but unfortunately not in colour due to the distinct lack of a working colour printer. This was a minor set back, but because of the nature of the task, the lack of recording time and the location of the film it really was not much of an issue.

By the time we were finally able to record I had familiarised myself with the recording equipment that we were using and this led to an effecient transition between camera angles. This meant that we spent under 30 minutes recording the 3 minutes of raw footage from which the film will be created.


This was the room where we filmed, and as can be seen, I tried to take a shot from all of the angles detailed in the storyboard. However, when it came to actually filming some of the angles had to be changed slightly to accomodate the tripod and the actresses' height. Almost all of the shots were incredibly similar, apart from the very last shot which ended up breaking the 180° rule because there was nowhere to place the tripod that would get both of the actresses in the shot. This may or may not be a problem depending on whether the other clips add up to 29/30 seconds. When it comes to my thriller, I think I am going to have to try and decide on the locations before storyboarding so that I can take into account all of the potential issues before they occur.
The filming itself was successful, although perhaps not as high a quality as I would have prefered. This was largely down to the difficulty in preventing bloopers and getting the reactions I wanted. I also think that we may have not done the shot/reverse shot correctly, however, it does not really matter as this is only a practise and it sort of works in the situation we have created.
If anything, my major problem with the filming was that I was the only person doing anything in my group barring Emily who was one of the actresses. This meant that I had to sort out the light placement, the tripod height and do all of the directorial work. This might have occured because I had a sense of purpose and knew what I was doing. I also knew what I wanted to achieve while the others may not have, ergo they let me get on with it. Everything might have gone slightly quicker if each of us had taken a separate job, like me on camera, someone else on lights, and someone else as the director. Unfortunately, that did not happen so we will have to make do with what we have.
By the next session I need to have sourced some sound effects and music so that the editing process is much smoother. I may or may not create a quick rough edit so that I can see whether we shot enough footage (I think we did, but we will not know until everything is edited together) but also to see whether the entire film works or not. We shall see.
The Storyboard

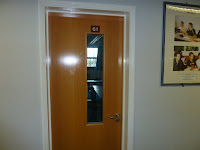
The first shot was chosen so that the audience could see the instigator walking into the room purposefully but they would also be able to catch the recipient unawares.

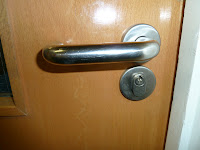
The next shot is a close up of the instigator using the door handle. In using the slight creak of the handle, the tension is further increased but it also makes the instigator appear more threatening as it is them that controls the simple cut edit.

The third shot returns to the original angle and this allows for us to be able to create an action match on either side of the door, one shot entering from the back, the other shot from the front. There should still be a feeling of tension within the shot at this point.

The fourth shot is of the instigator entering the room from the front. By tracking backwards until the table is in sight, it allows for the action match in the subsequent shot. We may make this a low angle shot, to further make the instigator more imposing. It also allows us to practise our tracking shots.

The fifth shot is of the papers with the photographs on being flung onto the table. This might be difficult to shoot, but I am certain that the practise will do us good. If possible, I think it would be quite cool to pull off a trick of perspective and make the table seem longer than it is. Unfortunately, that might be slightly too ambitious. Either way, it will certainly be an interesting shot.

The sixth shot will be the first one with dialogue. Hopefully, the actor/actress will be able to convey a decent level of anger, but this will allow us to practise our directorial skills. The hands slamming down on the table is going to be where the clip might start to take on a slightly more comical route to highlight the bizarre nature of the event.

The seventh shot is a reaction shot to No#6. As with all guilty parties, the first reaction is of denial. By having the recipient stand up, it shows the shock of the character, but also if directed well enough could show an attempt to escape.

In the eight shot, we are going to practise our over the shoulder shots and our shot/reverse shots in conjunction with the ninth shot.

The ninth shot does exactly the same job as the eight one, and just continues our practise on those shot types. It will also allow us to practise our control over the 180° rule. When I drew this frame, I might have broken the rule, but this can be easily fixed when filming.

The tenth shot will potentially be the final shot. This will allows us to do a zooming close up of the instigator character and although it may be difficult to shoot, it will certainly be an incredibly cool shot.

This eleventh shot may or may not be used in the final cut. I thought it would be a good idea as it would allow us to experiment with the special effects in After Effects, whilst also adding a little comical end to the clip. This may work better as an earlier shot, but I think that it will probably be missed out, as I'm sure some of the other clips will take up a bit more space than we have estimated.
The Start of the Preliminary Task
Today is the start of the Preliminary Task, we are going to have to create a 30 second clip that focuses on continuity editing.
Unfortunately, there were only two of us in the group because the others were in exams. This could potentially lead to some problems in the next two sessions when we have to film and edit the film, but it could not be avoided and we will just have to make the best of it.
In the two hours, Louise and I successfully storyboarded and scripted our entire clip, basing the story around a friend who has found out that someone has cheated on their friend and is confronting them over it.
We decided that it would be best to keep the film simple as we are not marked on the actual clip itself, but we do lose marks if we do not do it. This has led to us deciding that it was not worth wasting time and energy on something that will, in essence, gain us no marks at all. So we instead decided to focus upon picking up the skills in recording and editing rather than put ourselves in at the deep end.
Before the next session we need to create the props of the photographs and make sure that we can utilise the room we wish to use. We also need to source some sound effects and music to embellish the clip when we eventually get around to editing it.
Subscribe to:
Posts (Atom)